

photo HomeHeaderPages_zps121b83d7.jpg  photo AboutHeaderPages_zps6faf416f.jpg  photo ContactHeaderPages_zps0989aee4.jpg
Showing posts with label WingbackChair. Show all posts

Wednesday, March 11, 2015

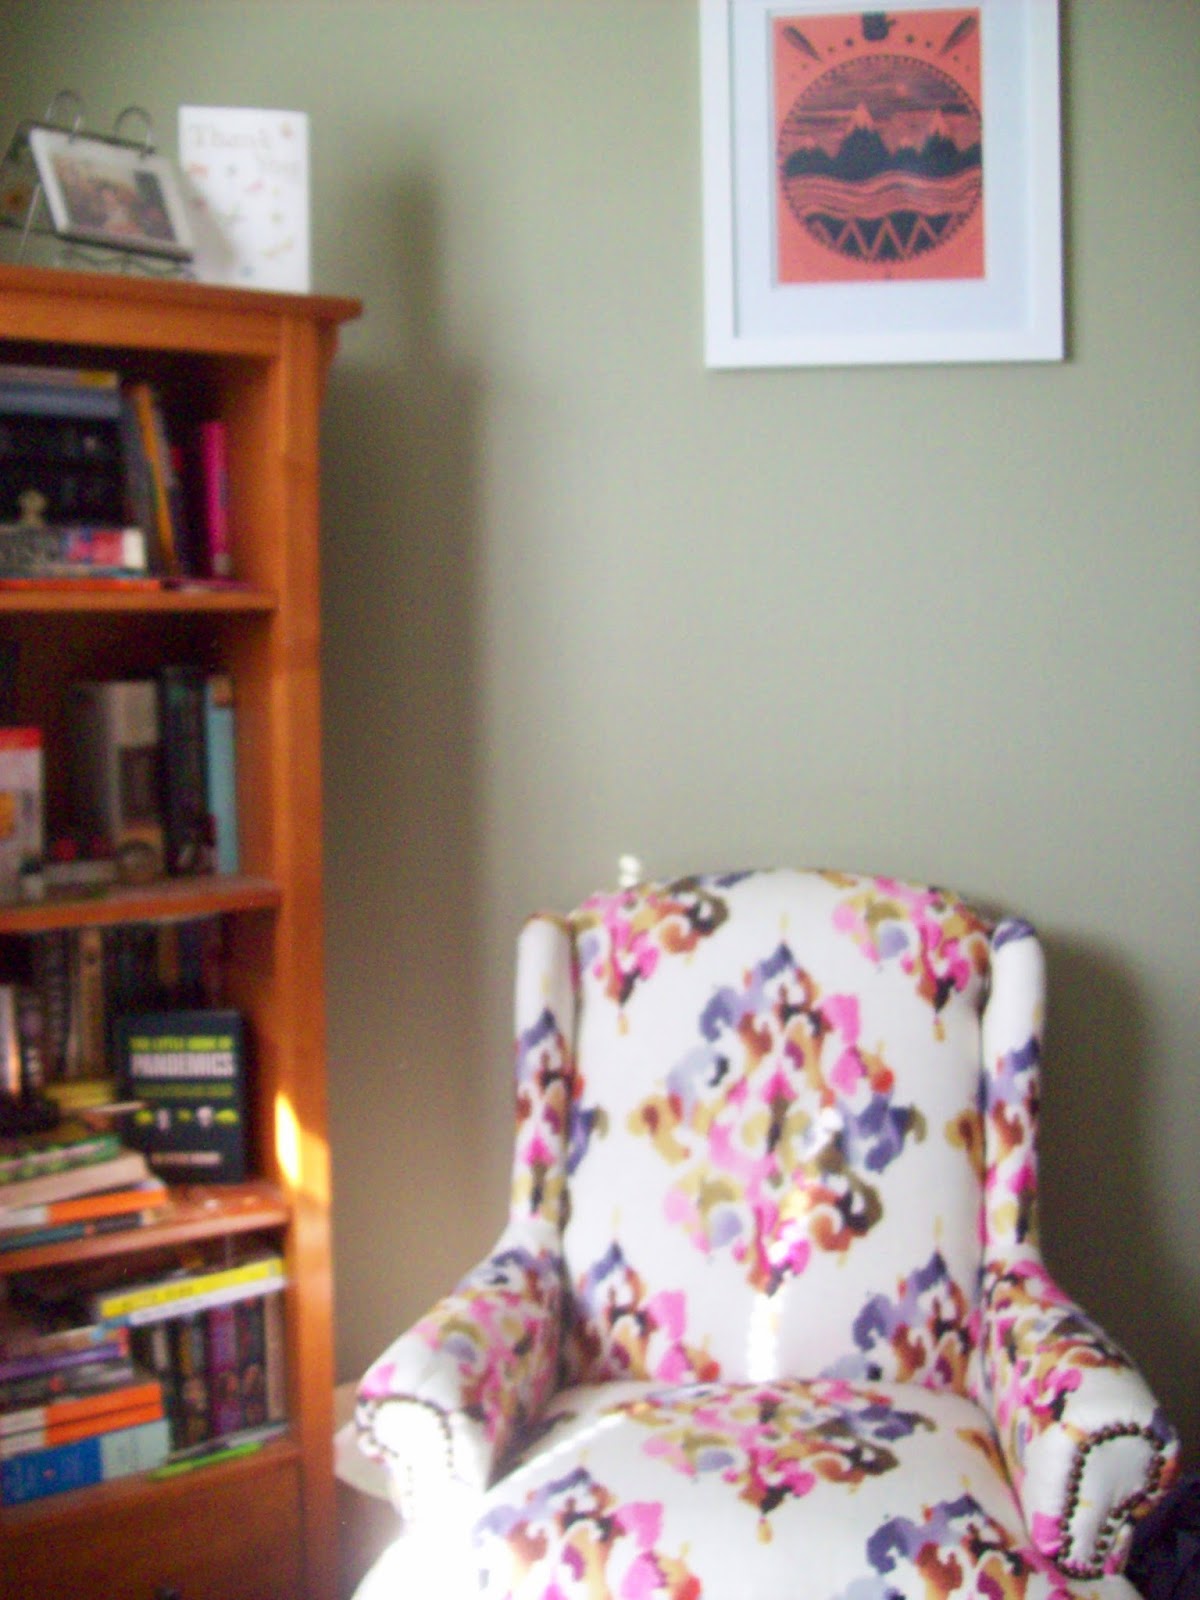
Upholstery: Completed Wingback Chair


I finally finished the wingback chair! If you haven't been following along you can read about phase 1, phase 2, and phase 3 by clicking the respective links. Get ready for a lot of pictures in this post - I might have gone a little overboard but it's because I'm so happy with how this turned out and I'm really sad that it's finished. If you just want to see the finished pictures scroll down to the very bottom.

I'm going to start with a ton of pictures from the most recent update so you can see the whole process through to the finished chair.

The completed deck

 
Starting the inside arms and wings


Maurice being ever so helpful

Getting started on the inner back - tying the springs and padding


Prepping the outside arms, wings, and back


All in all this wasn't that hard just time consuming. I think the hardest part or part that took the longest time was stripping the chair. Other than that everything was rather straightforward. You repeat the same steps for each part of the chair it's just important to do things in the right order. Release cuts were hard for me at first but I got the hang of it by the end. Putting the tacks along the perimeter of the chair was also really hard at first and I couldn't manage to keep the spacing or the tacks in line. As I went I got the hang of it but I'm glad I started on the back first so I had time to learn. I learned so much about upholstery in general on this project and I really loved every moment of it. It was satisfying to see things slowly come together and it was nice to step away from the sewing machine for a bit. I also learned that I love the smell of the jute webbing that you use to stabilize parts of the chair. It smells so good I can't even explain it just trust me. So what do you guys think? Would you try an upholstery project? I have a ton of extra fabric and I think I'm going to make some pillows and maybe a little matching footstool. As always thanks for reading!

Monday, February 2, 2015

Reupholstery: Spring tying, padding, and covering the seat


I just thought I'd share a brief update of how my chair project is coming along. It's going good so far if you can't tell by the pictures above.

1. The original chair
2. The chair completely stripped and wiped down
3. The current progress on the chair. The seat padding has been added and the top fabric cut out but it is not yet attached. I have to sew together the fabric that goes along the deck and add piping before I can staple it down completely.
4. The first stage in reconstructing the chair was to apply new webbing to the bottom. This is what holds the springs.
5. The springs then got tied on to the webbing
6. Then the springs got tied down themselves in an 8-point tie. This helps to compress them into shape and make them act as a unit when you're sitting down.
7. I stained the legs and all parts underneath the chair that would be visible a nice rosewood color. The springs were covered with a piece of burlap.
8. Edge roll was added along the edge of the seat in order to help stabilize an area that gets a lot of wear and tear. Cotton batting was added on top of the burlap for padding and to smooth out an bumps from the springs.
9. The foam for the seat was cut out and glued onto another piece of burlap. This piece of burlap then got stapled down to the chair effectively holding the foam seat in place.
10. Maurice the cat thinks that it's good as is.
11. A layer of Dacron got glued on top and around the deck to add more padding.
12. The seat fabric has been cut out and checked for fit.

Even thought I haven't had much time during the week to work on this it's actually coming along quite nicely. I'm hoping to finish it up in the coming week so check back soon!

Wednesday, January 21, 2015

Reupholstery: Stripping the Wingback Chair

Just a little bit left to go!

So I got around to the wingback chair I mentioned in my previous post this past weekend. I couldn't have asked for a better weekend to get started. It was in the upper 50's and sunny and perfect to sit outside with the radio on while ripping off fabric and playing tug-of-war with staples. I don't have too much to say about the process at this point because you really just remove staples, remove fabric, and repeat. I've been keeping the old fabric pieces and labeling them as I take them off so that I have a template for my new fabric. I've also managed to salvage some of the old materials. So far I've found a penny and some crazy 80's fabric under the green fabric. I should have all of the old material off by the end of the night and I'm planning to get started immediately on re-tying the springs! I have a bunch of pictures below that are mostly in order of the removal process.