photo HomeHeaderPages_zps121b83d7.jpg  photo AboutHeaderPages_zps6faf416f.jpg  photo ContactHeaderPages_zps0989aee4.jpg

Tuesday, May 12, 2015

Harper Blouse

Pattern: Harper Blouse - Spit Up & Stilletos
Fabric: Something polyester from Colorado Fabrics - I honestly have no idea what this fabric is made up of, it's pretty drapey & shifty though

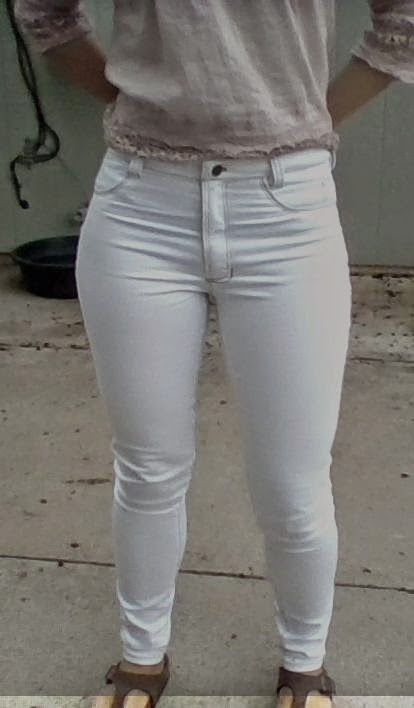
I made my first 'summery' top or blouse as I like to think of it this past weekend and I really like how it turned out. I picked up this fabric last fall when I was at Colorado Fabrics down in Denver and I had been contemplating making a dress, maxi skirt, or top. I'm usually not one for busy fabrics but to me this felt summery and fun while still being work appropriate. It is sheer and you'll have to excuse my bra peeping out in the pictures above. I wore this outfit to work yesterday, with a shirt underneath, but didn't have time to photograph it so I threw it on this morning, with no shirt underneath, in order to take some quick pictures. 


The pattern was really straight forward and easy to follow. I french-seamed my seams so that I wouldn't have any exposed insides. I really like the neckline as well - would you call it a V-neck? It's not as deep as a traditional v-neck. I made my own bias tape out of the fabric and used it to finish the arms and make the waist-belt. I think using contrasting bias binding for the belt and armholes would be fun to try on a solid version of this.


As far as changes go I think I would make it a 1/4" wider on the back piece in the shoulder area and 1'4" wider right at the bust. There's no obvious stretching or pulling lines it just felt a little tight to me. Because this was such a simple top I can see myself making a ton more in other fun fabrics. I'm pretty sure I'm going to wear this a ton this summer. It also looks nice worn with a cardigan - so office appropriate in the summer time when the air conditioning is blasting. I think it would be easy to extend the hem and turn this into a fairly simple dress as well.


Sunday, May 3, 2015

'Wearable Muslin' White Denim Ginger Jeans

Pattern: Ginger Jeans - Closet Case Files
Fabric: White Stretch Denim - JoAnn's

It's still quite unbelievable to me that I'm sitting here in my first pair of jeans ever - the jeans that I'm probably going to wear everyday this week if I'm being honest. Oh man, making these was equal parts great and awful. So many things went wrong most likely because I was distracted by whatever Netflix show I was watching. That's the point of making a muslin right? To figure it all out before you make the real thing. Luckily these turned out wearable but just barely. The nice thing is that I did feel like i learned a lot and I know now what fitting changes I will make for next time. And there will be a next time because I have 6 yards of raw denim waiting on my shelf to be cut into - wahoo!

Connie is thinking 'Why are you taking so many pictures of your butt?'
Also can you see the dirt on my seat from riding my bike seat earlier? This is why I can't have nice things

I knew I wanted to make a muslin of these because I've never made jeans before and I was worried about all kinds of fitting issues. I decided to make view B first which is the high waisted skinny leg variation. Before sewing I basted all of the pieces together and everything seemed to fit just fine. What I completely ignored at the time was that the waistband was falling about 2 inches below my belly button. On the instructions there's a little notation that says that view B is supposed to fall right above the belly button. When I cut out my pieces I based them off of the finished measurements listed. I cut a 12 throughout the legs and hips but graded to an 8 up to the waist and I cut an 8 in the pockets as well. Big mistake number 1. This would've been fine if the rise of the jeans actually ended above my belly button where I fit into the size 8 measurements, but because these fit lower on me where they ended was about a size 10 measurement. So when I tried them on after sewing them pretty much together minus the buttonhole they were way too tight around my waist. The pockets were also to small and were gaping and bulging. Disaster.


 Luckily due to the 5/8" seam allowance I was able to unpick them at the sides and ease out the seam to a 1/4". I had enough leftover fabric to recut the waistband and all was good and well... until I pulled the slider off the zipper and then almost cried when i couldn't get it back on. I was ready to give up (I was not taking apart the fly front and resewing it with a new zipper) when I managed to get it back on. Crisis averted and all was well...except for the pockets which were still gaping because they were too small. So I decided to just sew them shut along the topstitching and voila! No more gaping - alas no more front pockets. Who uses front pockets anyways? The fix for next time is to lengthen the wait rise of the pants at the lengthen/shorten marking probably by an inch or two. I think I'll still cut a size 12 through the legs, grade up to a 10 through the hips & start of the torso and end at an 8 around my belly button. I think I'll err on the side of caution and cut the pockets at a size 10 next time just to avoid gaping issues.


The topstitching was actually really fun even though I need to work on going slowly and staying even a bit more. My basic Singer machine handled it like a pro and only needed some coaxing over the thicker fabric areas.


These took me about two and a half weeks to finish mainly because I only had time to sew in fits and spurts. I'm pretty sure they'll take less on this second pair. I'm going to take a break and sew something else in the meantime but then I'll be back with my second pair. I have some otter wax I've been holding onto that I think I'm going to use to make a waxed pair! Let me know what you guys think in the comments below.