 |
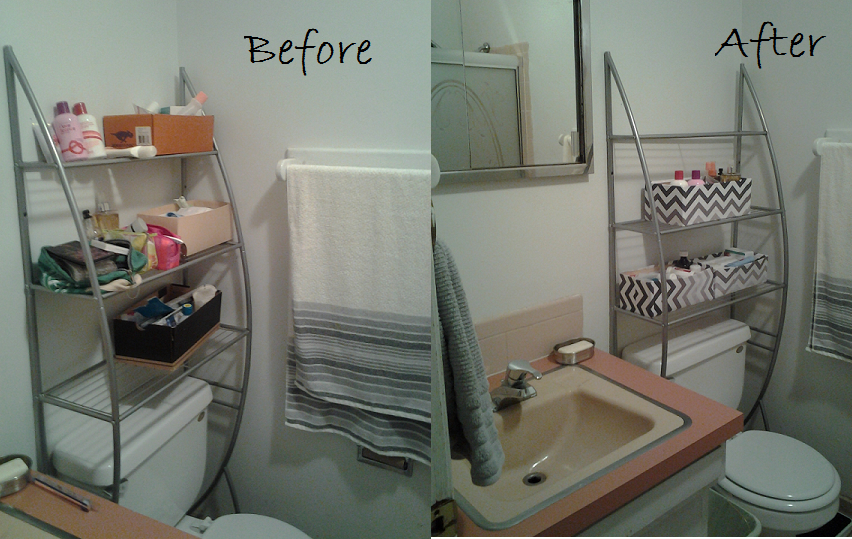
| Before: my weak attempt at a storage solution After: much more appealing and put together |
It's the little things that really bring a room together. Having coordinating colors and themes while playing with different patterns also helps. I don't really have much room in my bathroom, the only storage areas are under the sink and behind the mirror. I use the space under the sink to store cleaning supplies, and keep products I use on a more day to day basis on my shelving unit above the toilet. I decided last year to start storing some of my things like nail polish, make up, medicine, etc. in old shoe boxes I had laying around to cut back on having all of my knickknacks everywhere. You can see how even though things are in boxes in the before picture it's still pretty messy, and none of the boxes match each other or the grey/black/white/pink theme of the room. I've seen plenty of pictures of cute little boxes or baskets people have bought to hide clutter while keeping things pretty and I decided to just cover the boxes I already had.
 |
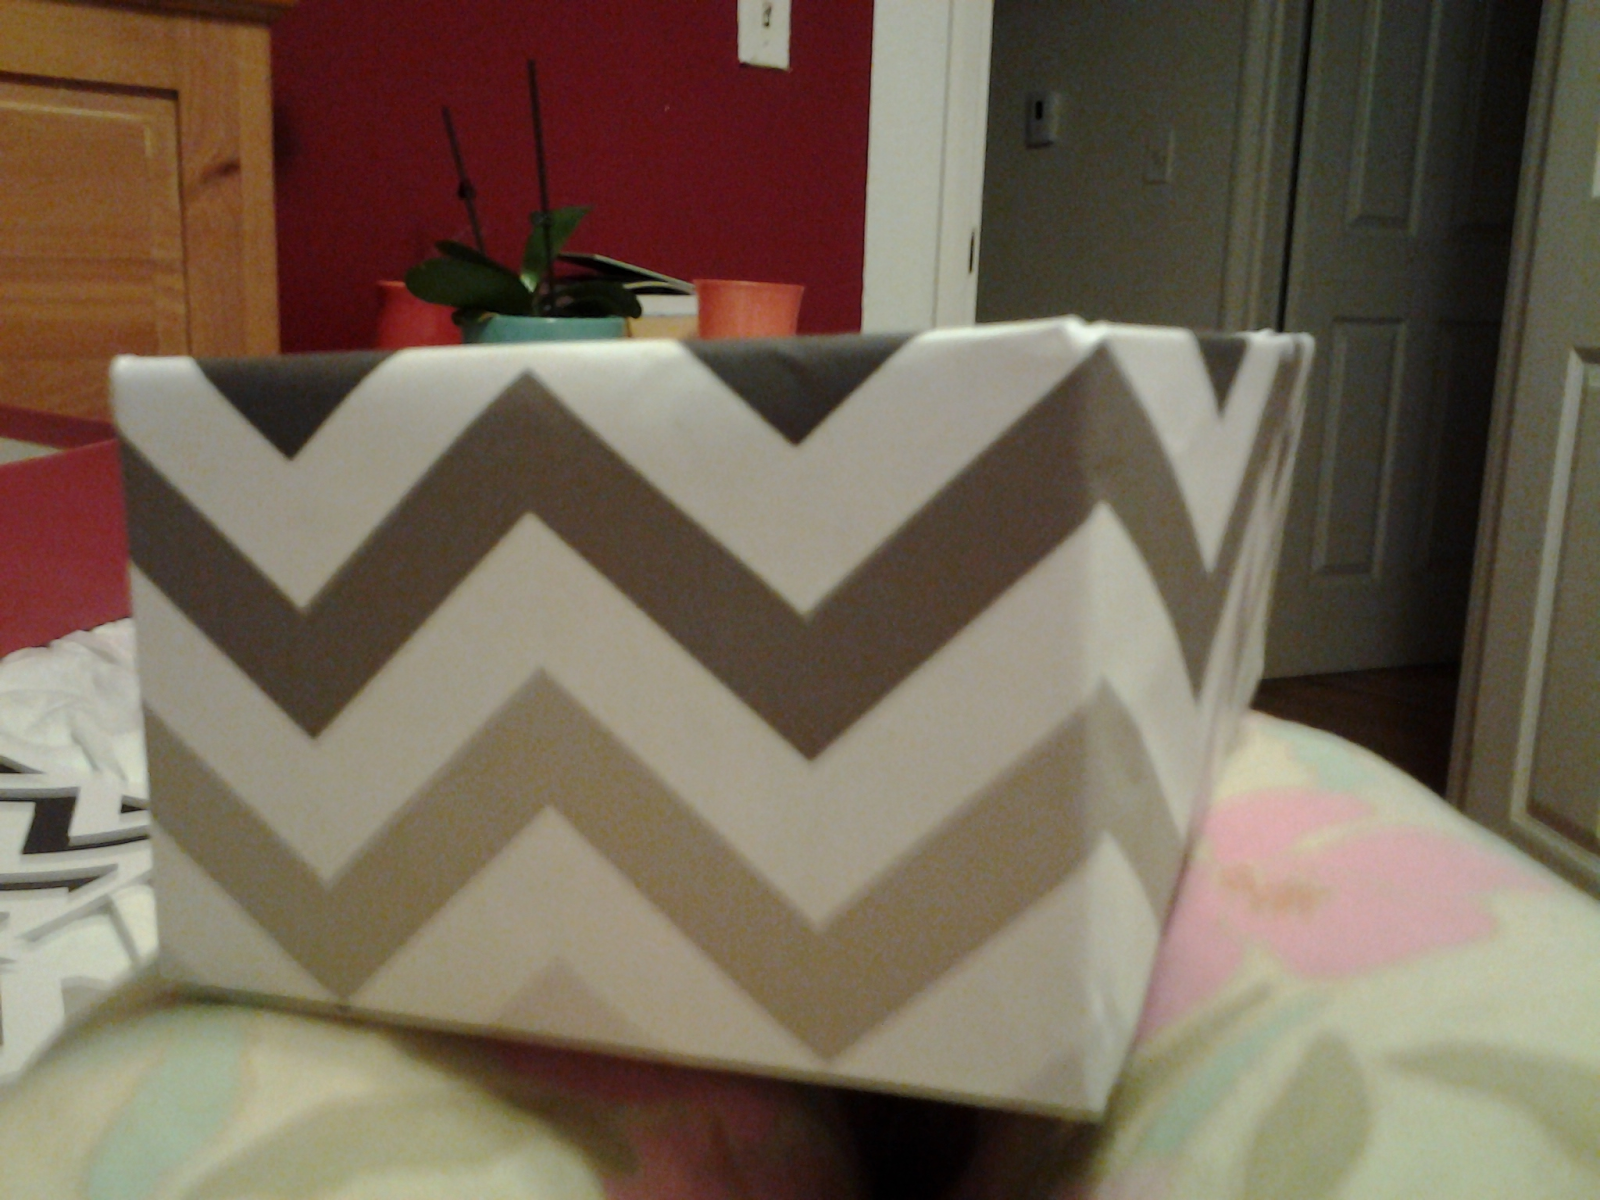
| It was really hard to pick a pattern for my boxes, I settled on chevron to match my future walls |
I started by dumping out everything I had in my boxes and scrounging up a few others to make sure I had enough to comfortably fit all of my bathroom essentials. I googled black and white designs and was immediately overwhelmed by the variety of patterns, so I decided to just go with chevron seeing as how that's what I'm planning on for the bathroom walls. I printed out a bunch of copies, got out my glue stick since I couldn't find my tape (I think tape is easier to work with) and got started gluing on the pieces of paper. I tried to line up the edges as best as I could when adding new sheets of paper to the box, making sure to get the paper to lie as flat as possible when folding it around corners or the inside edges. This would work better with fabric mainly because of the fact that you can buy your fabric large enough to not have to worry about pieces overlapping.
 |
| Already so much better than before |
This took me about half an hour to do, and depending on how many boxes you're trying to cover and the supplies you have on hand it could take more or less time. But it's a quick inexpensive solution to add style to any room from bathroom to living room. I have one more box to cover, but I'm already liking my bathroom a lot more than before. Getting little projects like this done can make such a huge difference to a room, and I can't wait to get the rest of the things I need to make this room look even better.


Looks good Aimee!
ReplyDelete